I got to the store a little late Saturday for some tourney list practice (my first tournament is next Saturday!), and was only able to get two practice games in. I'll be discussing my potential list later. After a short break, we decided to run a four-player Epic game. 200 pts. to each player, two to a team. We used the Epic rules for asteroid placement and staring zones, and went at it.
Our minis for this game were generously provided by Eugene. He has an AMAZING collection of ships, much more than was needed for the 800 pts. on the table.
I didn't get a picture of everyone's lists, so I'm operating mostly off of memory for the other three players, but I'll do my best.
LISTS:
Rebels: Transport and Escort Wing (Eugene)
- GR-75 Medium Transport + Quantum Storm + toryn Farr + Comms Booster
- Wes Janson
- Wedge Antilles
- Luke Skywalker + R2-D2
- Biggs Darklighter + R2-F2
- Garven Dreis
- 12 pts. of X-wing upgrades I can't remember
Rebels: Heavy Strike Force
- Ibtisam + Opportunist + Hull Upgrade + Heavy Laser Cannon
- Dagger Squadron Pilot + Heavy Laser Cannon + Fire-Control System
- Dagger Squadron Pilot + Heavy Laser Cannon + Fire-Control System
- "Dutch" Vander + R5-K6 + Shield Upgrade + Proton Torpedoes + Ion Cannon Turret
- Green Squadron Pilot + Push the Limit + Assault Missiles
- Green Squadron Pilot + Push the Limit + Assault Missiles
Imperials: Interceptor Wing (played by Robert)
- Darth Vader + Swarm Tactics
- Alpha Squadron Pilot
- Alpha Squadron Pilot
- Alpha Squadron Pilot
- Soontir Fel + Push the Limit
- Carnor Jax + Push the Limit
- Turr Phennir + Push the Limit
- Tetran Cowell + Push the Limit
Imperials: Bomber Wing and Bounty Hunters (Michael)
- Captain Jonus (he had some secondary weapons, don't remember what they were)
- Scimitar Squadron Pilot + Concussion Missiles
- Scimitar Squadron Pilot + Concussion Missiles
- Scimitar Squadron Pilot + Proton Torpedoes
- Scimitar Squadron Pilot + Proton Torpedoes
- Kath Scarlet + Gunner + Marksmanship
- Krassis Trelix + Recon Specialist
- 13 pts. of upgrades on a variety of ships, most likely more ordnance for the bombers
BATTLE REPORT:
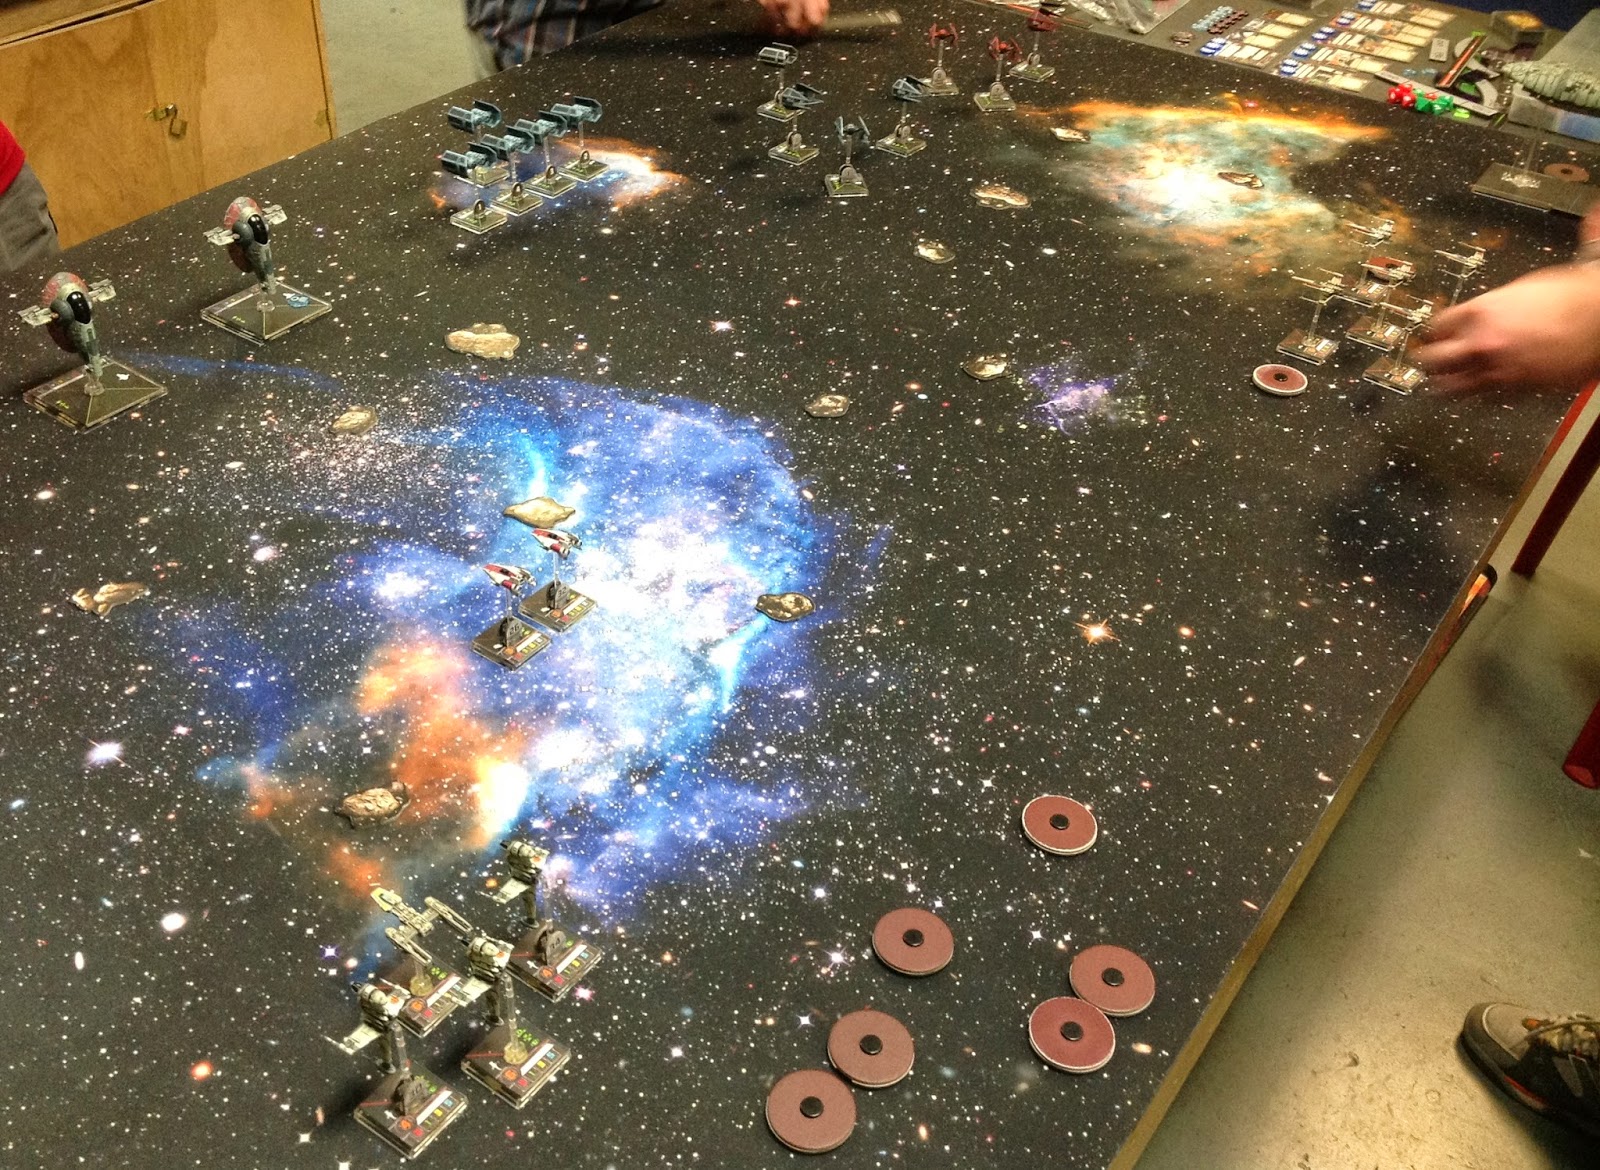 |
| Everyone moves forward; A-wings, needing to assist against the bomber wing, begin an intercept course. The TIE Interceptors, lead by Vader, take a loose formation to maneuver through the asteroids, while the TIE Bombers and the Firesprays lumber along, waiting for the fight to come to them. |
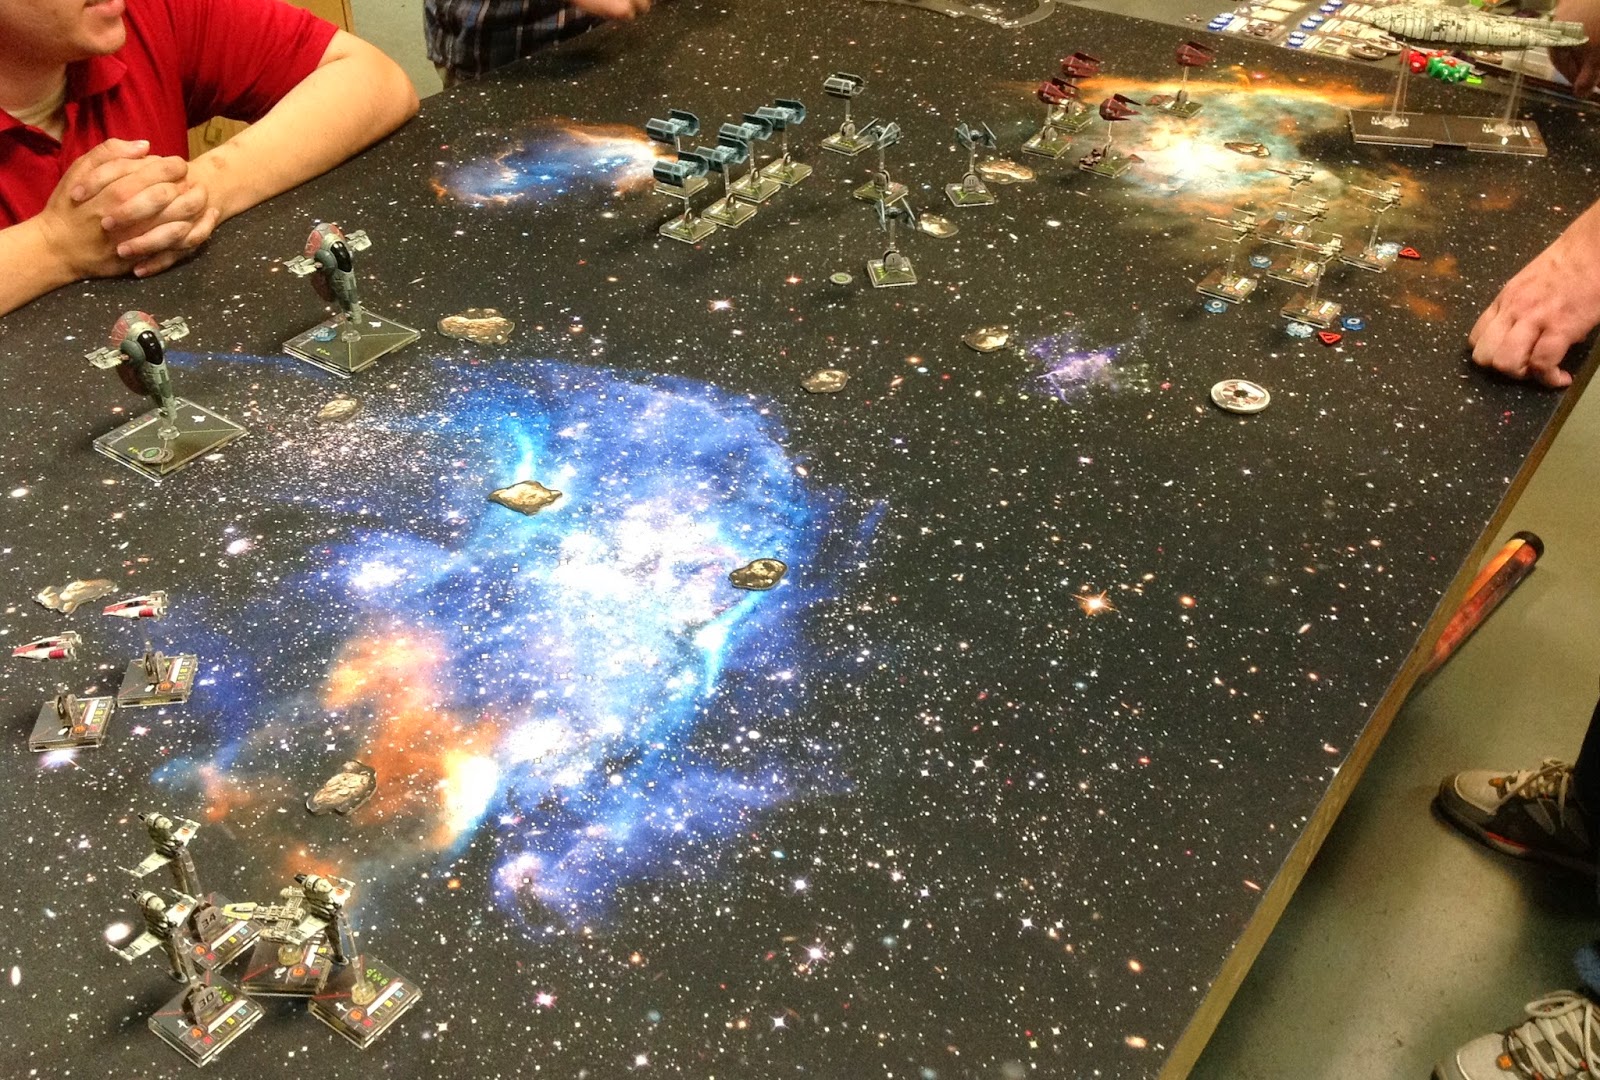 |
| The TIE Interceptors close on the Quantum Storm's escorts, though one of Vader's wingmen and Turr Phennir go down to long-range X-wing fire. The A-wings are deterred by the sudden onslaught of the Firesprays. A miscalculation evading the asteroid causes Dutch to demolish the B-wing formation... |
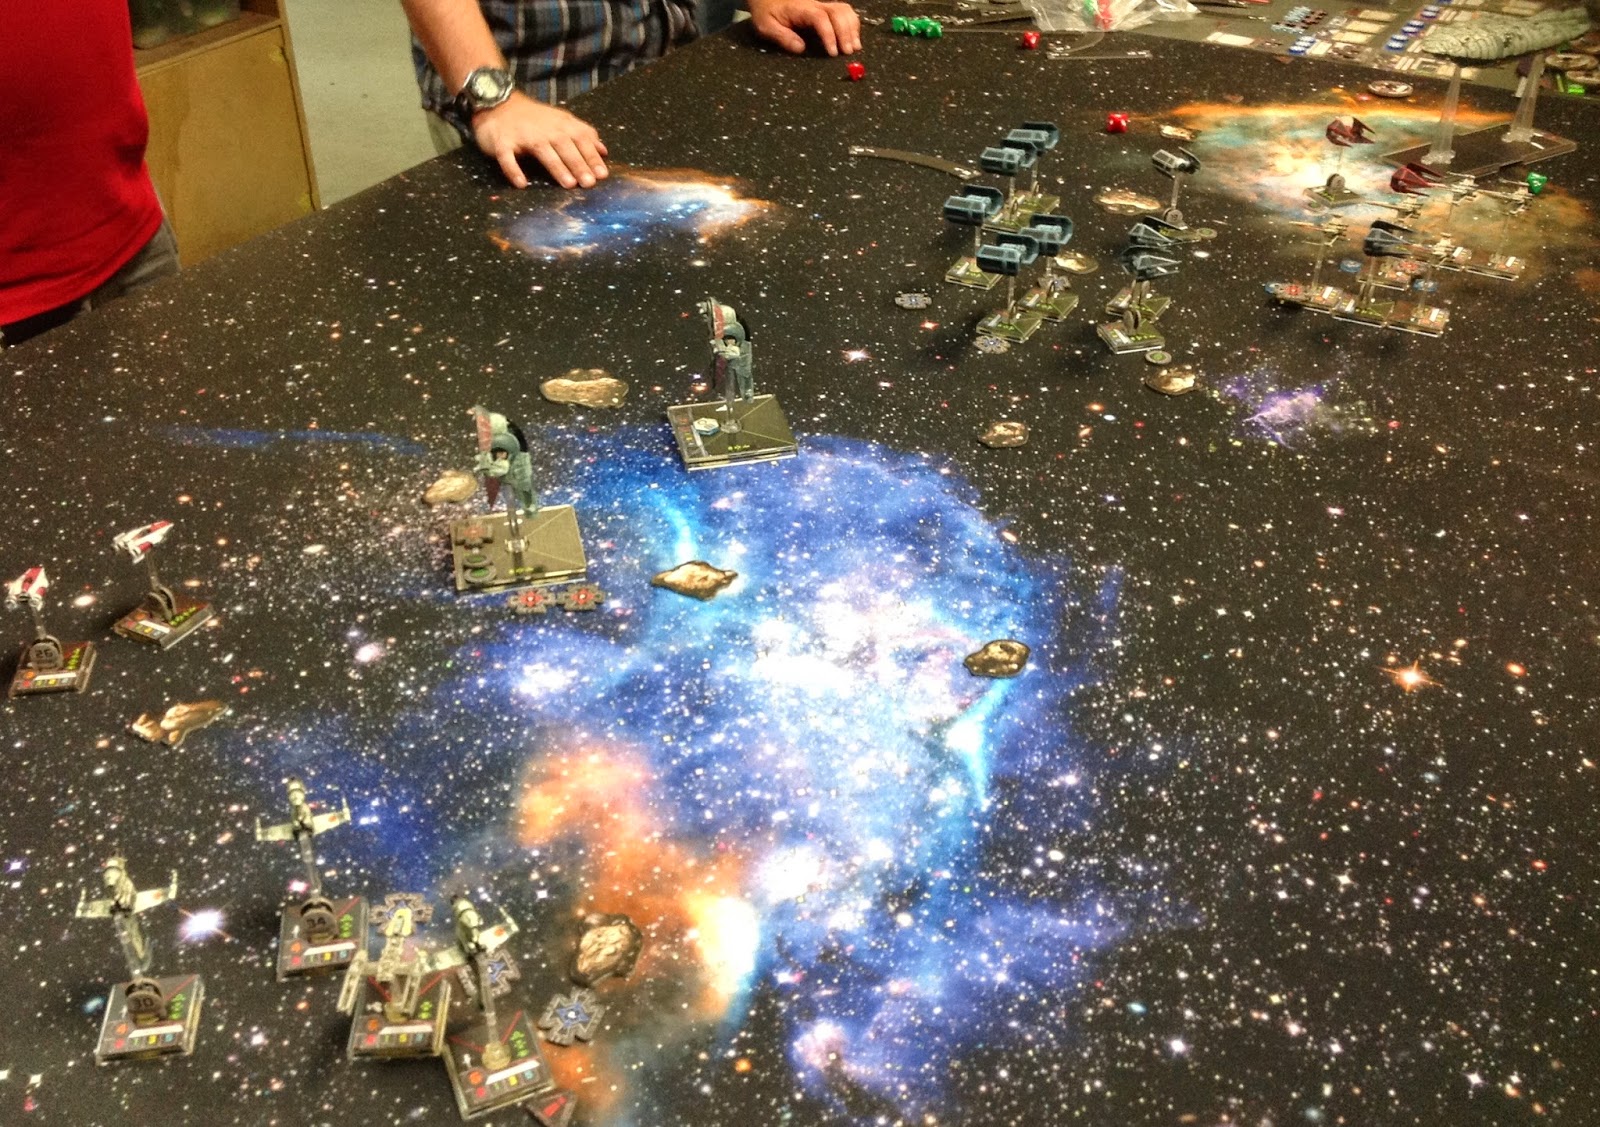 |
| Soontir Fel makes a fatal mistake, and smashes into the hull of the transport. The rest of the interceptors lay into the X-wings, while the Bombers unleash a barrage of missiles, taking down Dreis and Wedge. Meanwhile, the A-wings change course to assist the X-wings, and the B-wing squadron get a few shots off into Krassis Trelix. |
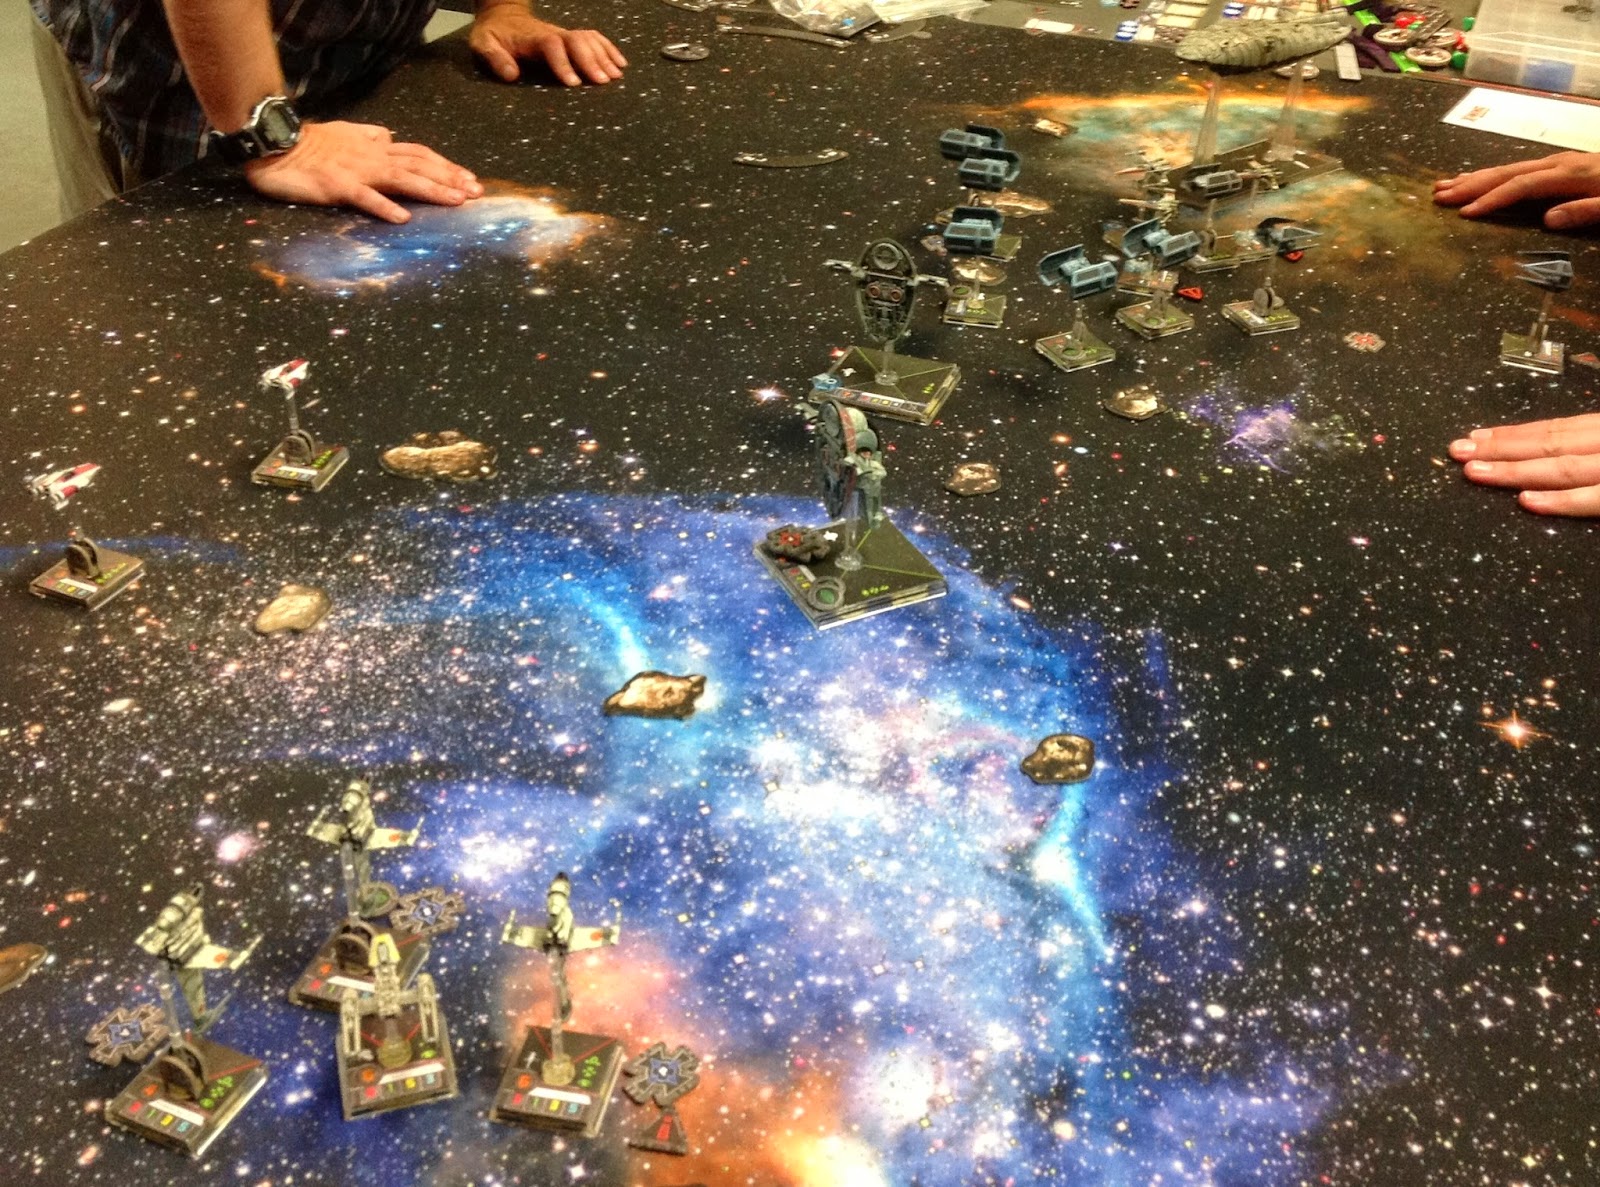 |
| The A-wings continue their burn towards the TIE swarm, but it's almost too late as Biggs is shot down by concentrated fire, taking one of the bombers with him. Vader lands some hits on the transport, while Krassis leads the slow and disorganized B-wings on a merry chase. |
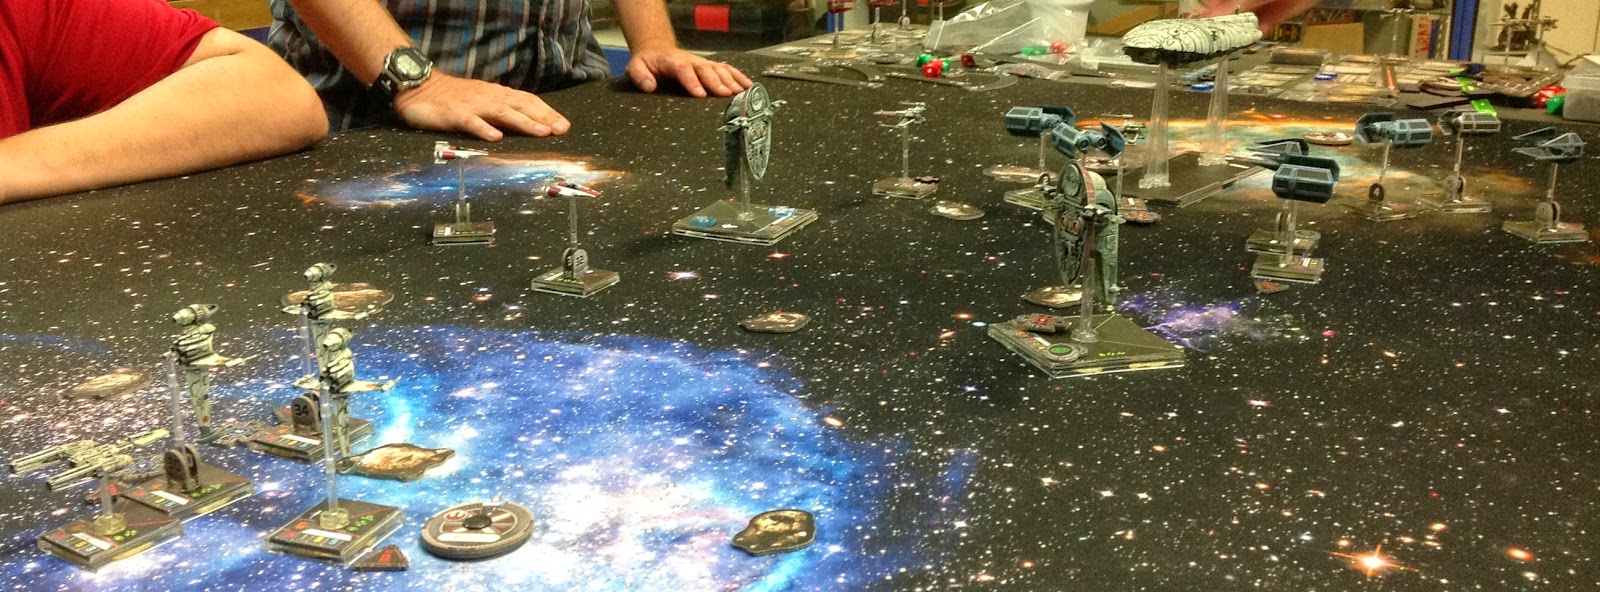 |
| The A-wings turn hard around the corner, and the trailing one comes face-to-face with Kath. The concentrated fire of the TIEs bring down Wes, though Luke escapes, while Vader continues to harry the transport. Things aren't looking good for the Rebels... |
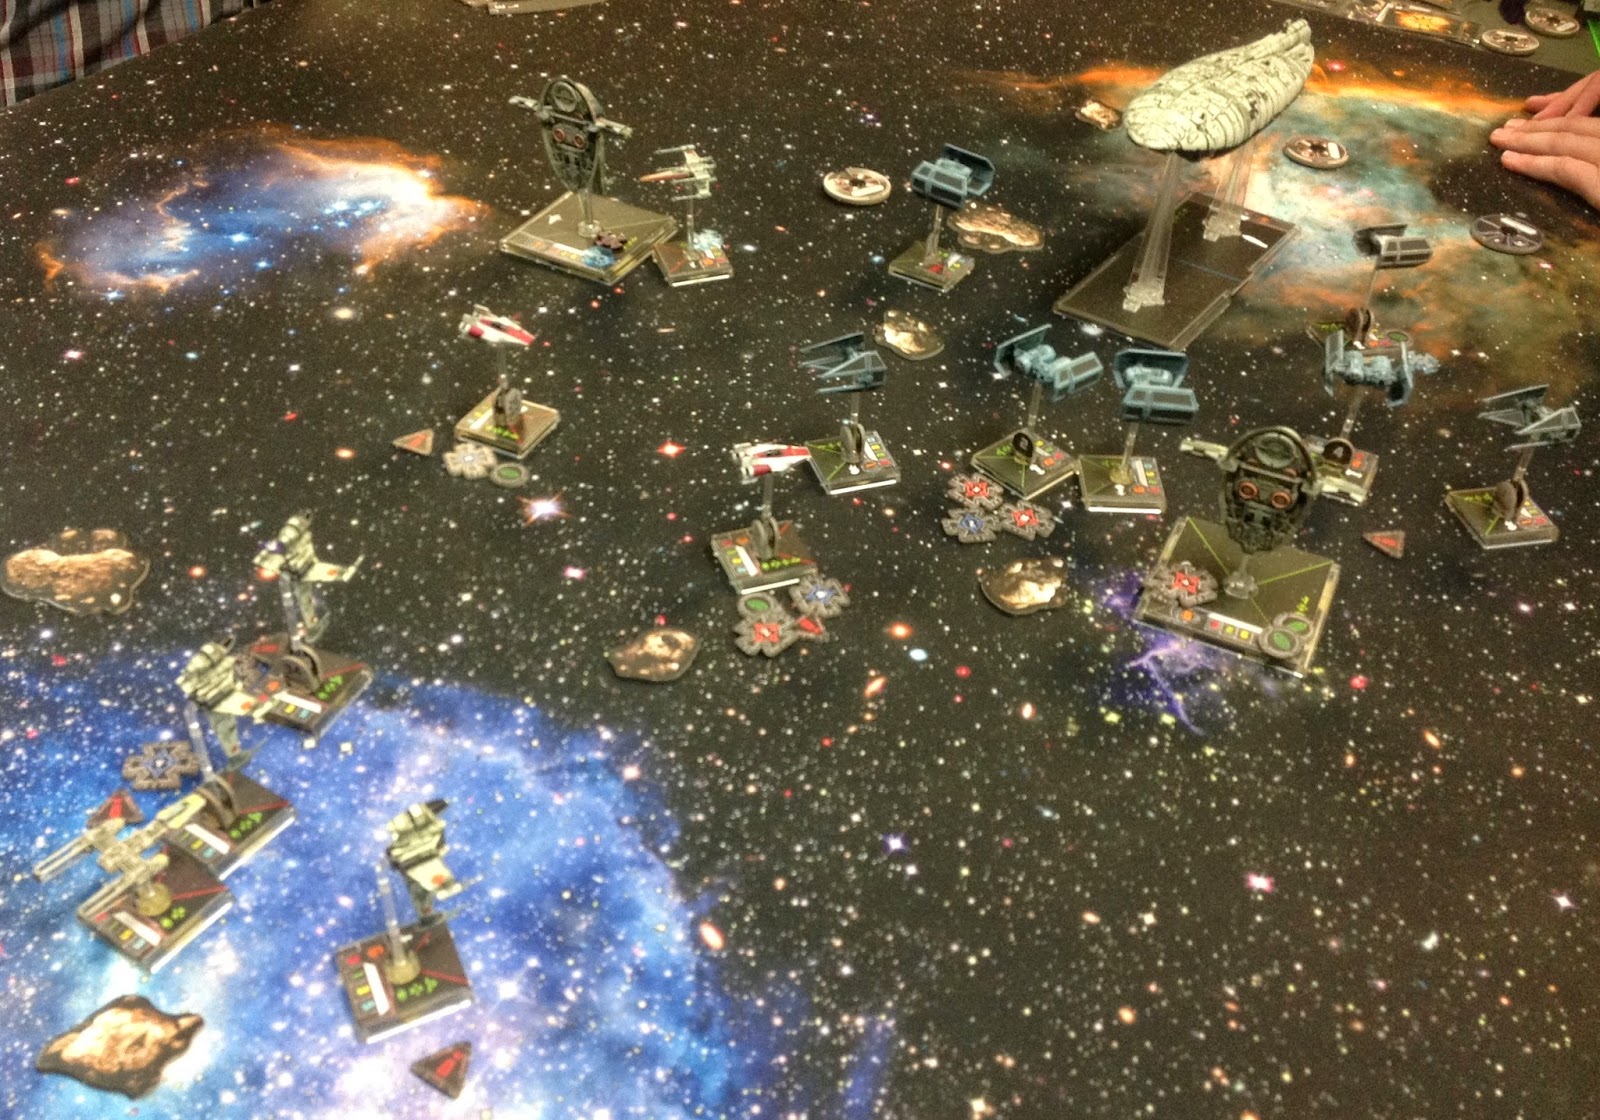 |
| The A-wings find themselves finally within range to fire; their assault missiles obliterate one of the TIE Bombers and one of the remaining interceptors, and severely damage Captain Jonus and Krassis. They take some return fire, but their speed makes most of the shots fail. Meanwhile, Luke finds that he can't shake the TIE Bomber following him, and Vader again lays into the transport. |
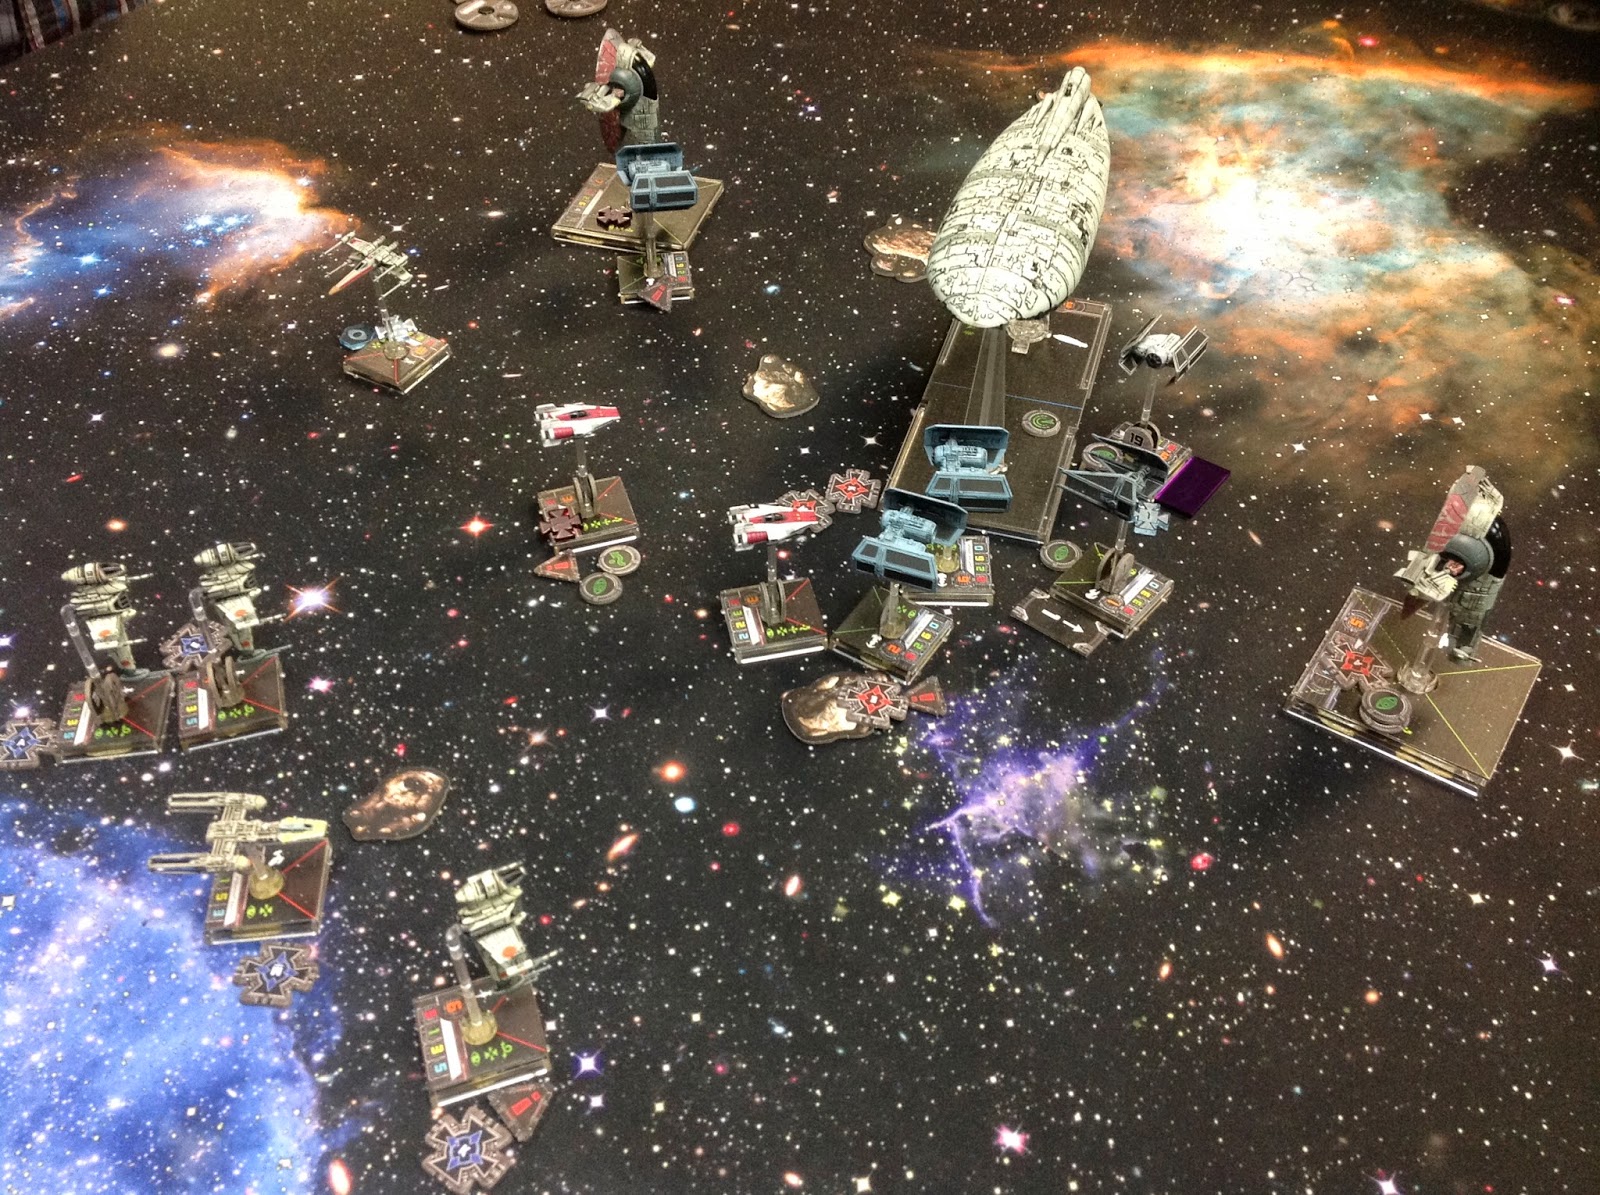 |
| Luke is able to dodge the TIE Bomber, though he still can't shake the craft, as the Green Squadron pilots concentrate their fire to kill Jonus. The B-wings destory the last TIE Interceptor, but Krassis and Vader's combined attacks finally bring down the Quantum Storm. |
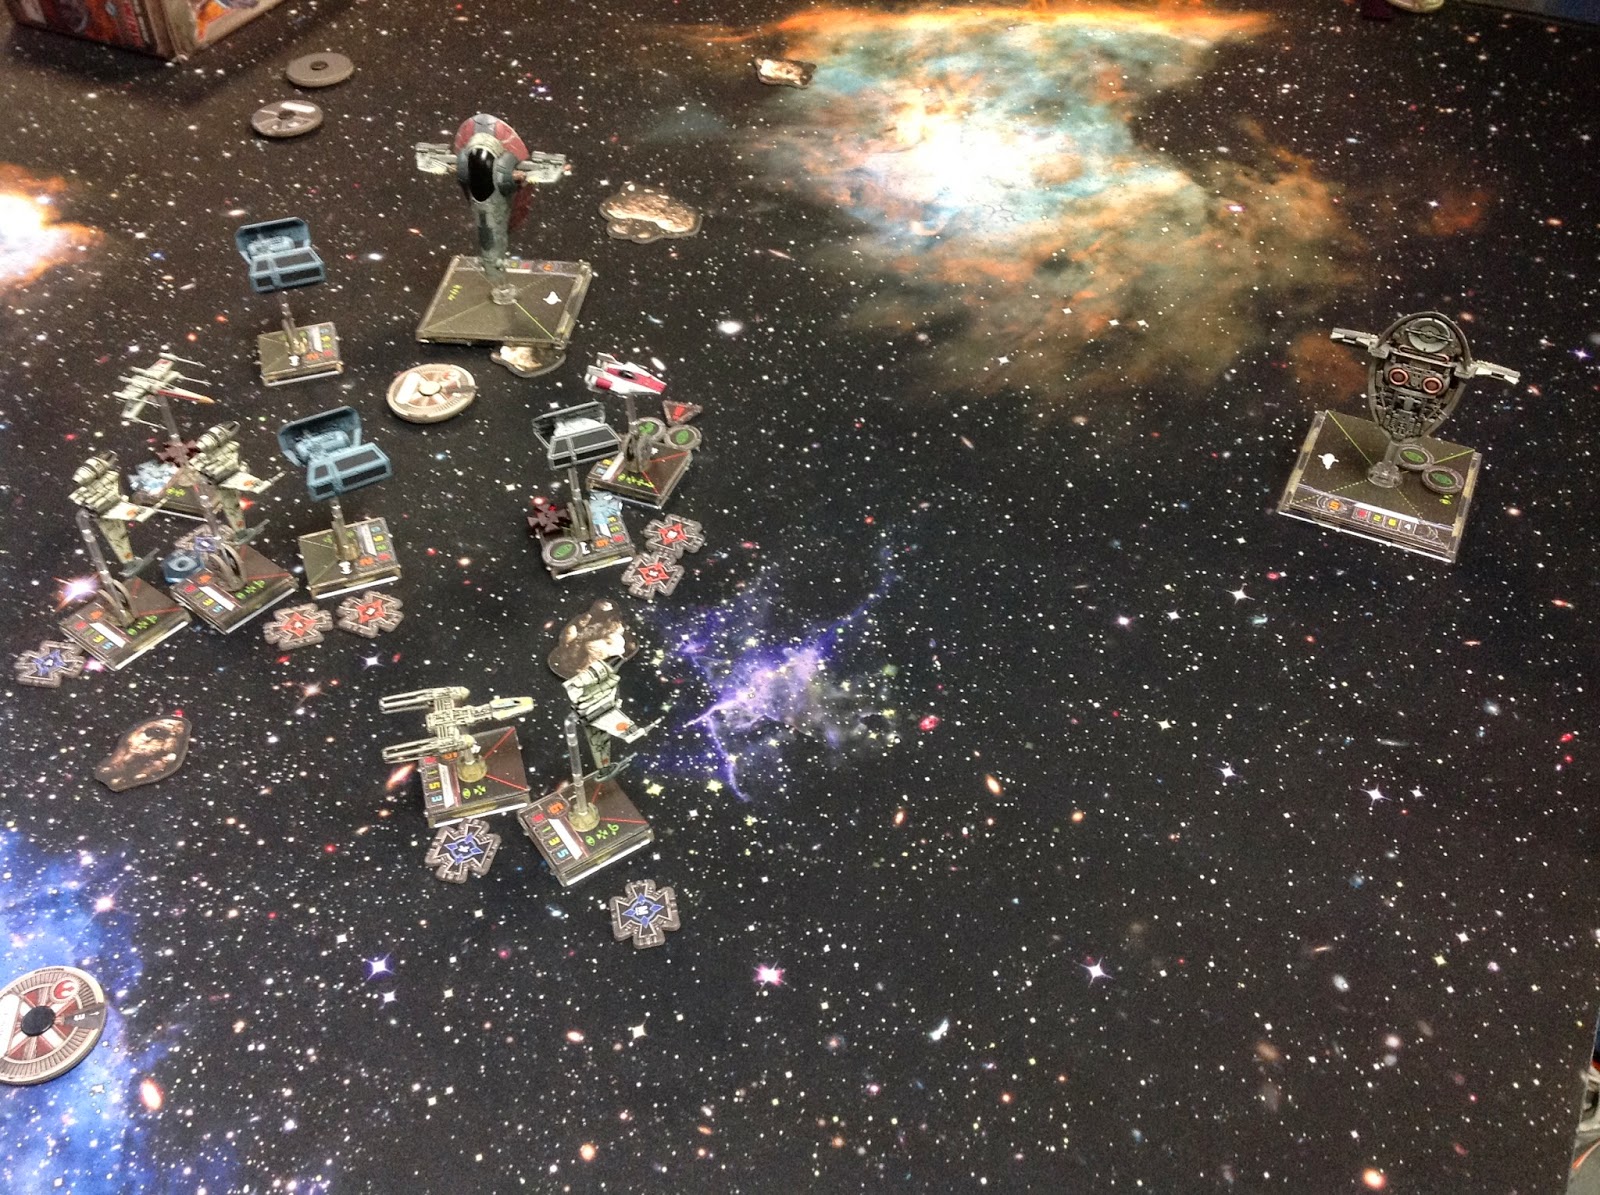 |
| Kath takes an opportunity shot and brings down the trailing A-wing while Krassis tries gains distance for an attack run as Ibtisam fails to find a mark with her heavy laser cannons. Finally, Luke is shot down by Vader, right before the Dark Lord takes an ion turret hit from Dutch. |
|
|
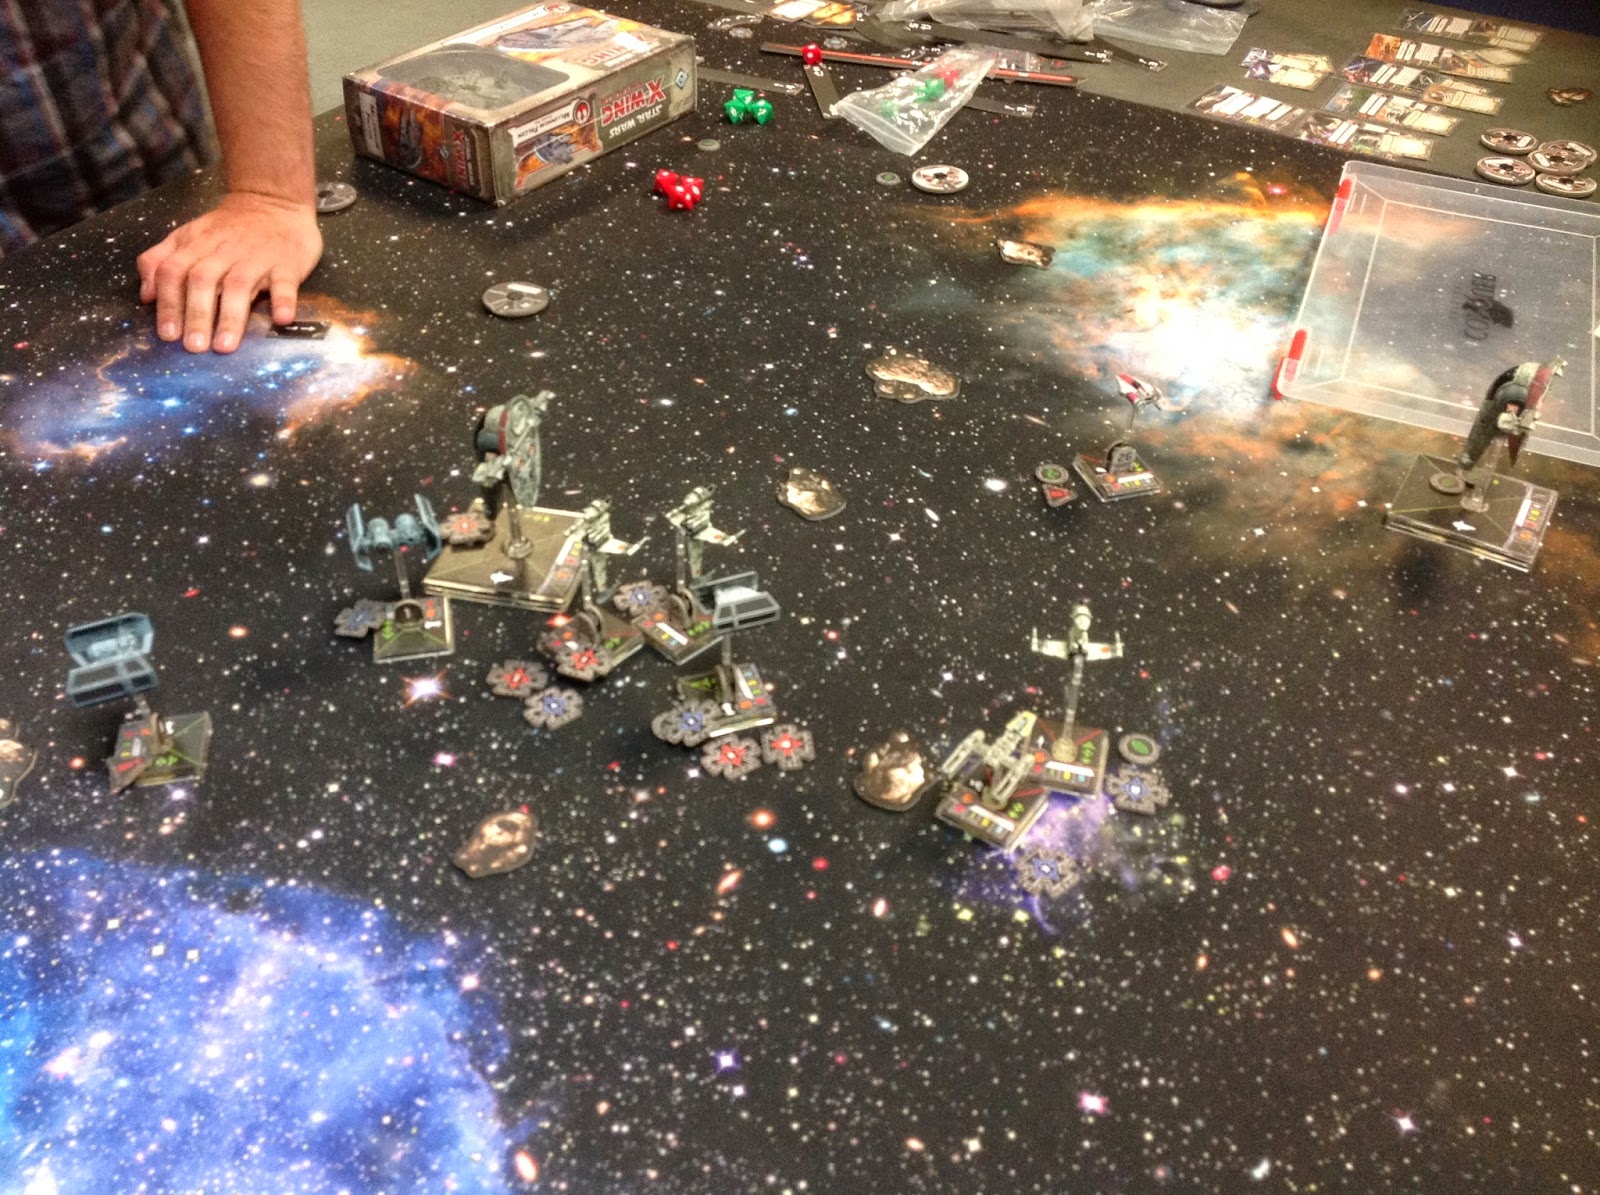 |
| Krassis attempts to shoot down the lone A-wing, but the fast little ship evades the shot. The B-wings charge though the TIE formation, avoiding most shots, as Ibtisam fires at Krassis, causing superficial damage. Dutch tries to stun Vader again, but misses now that the Sith Lord is aware of his plan. |
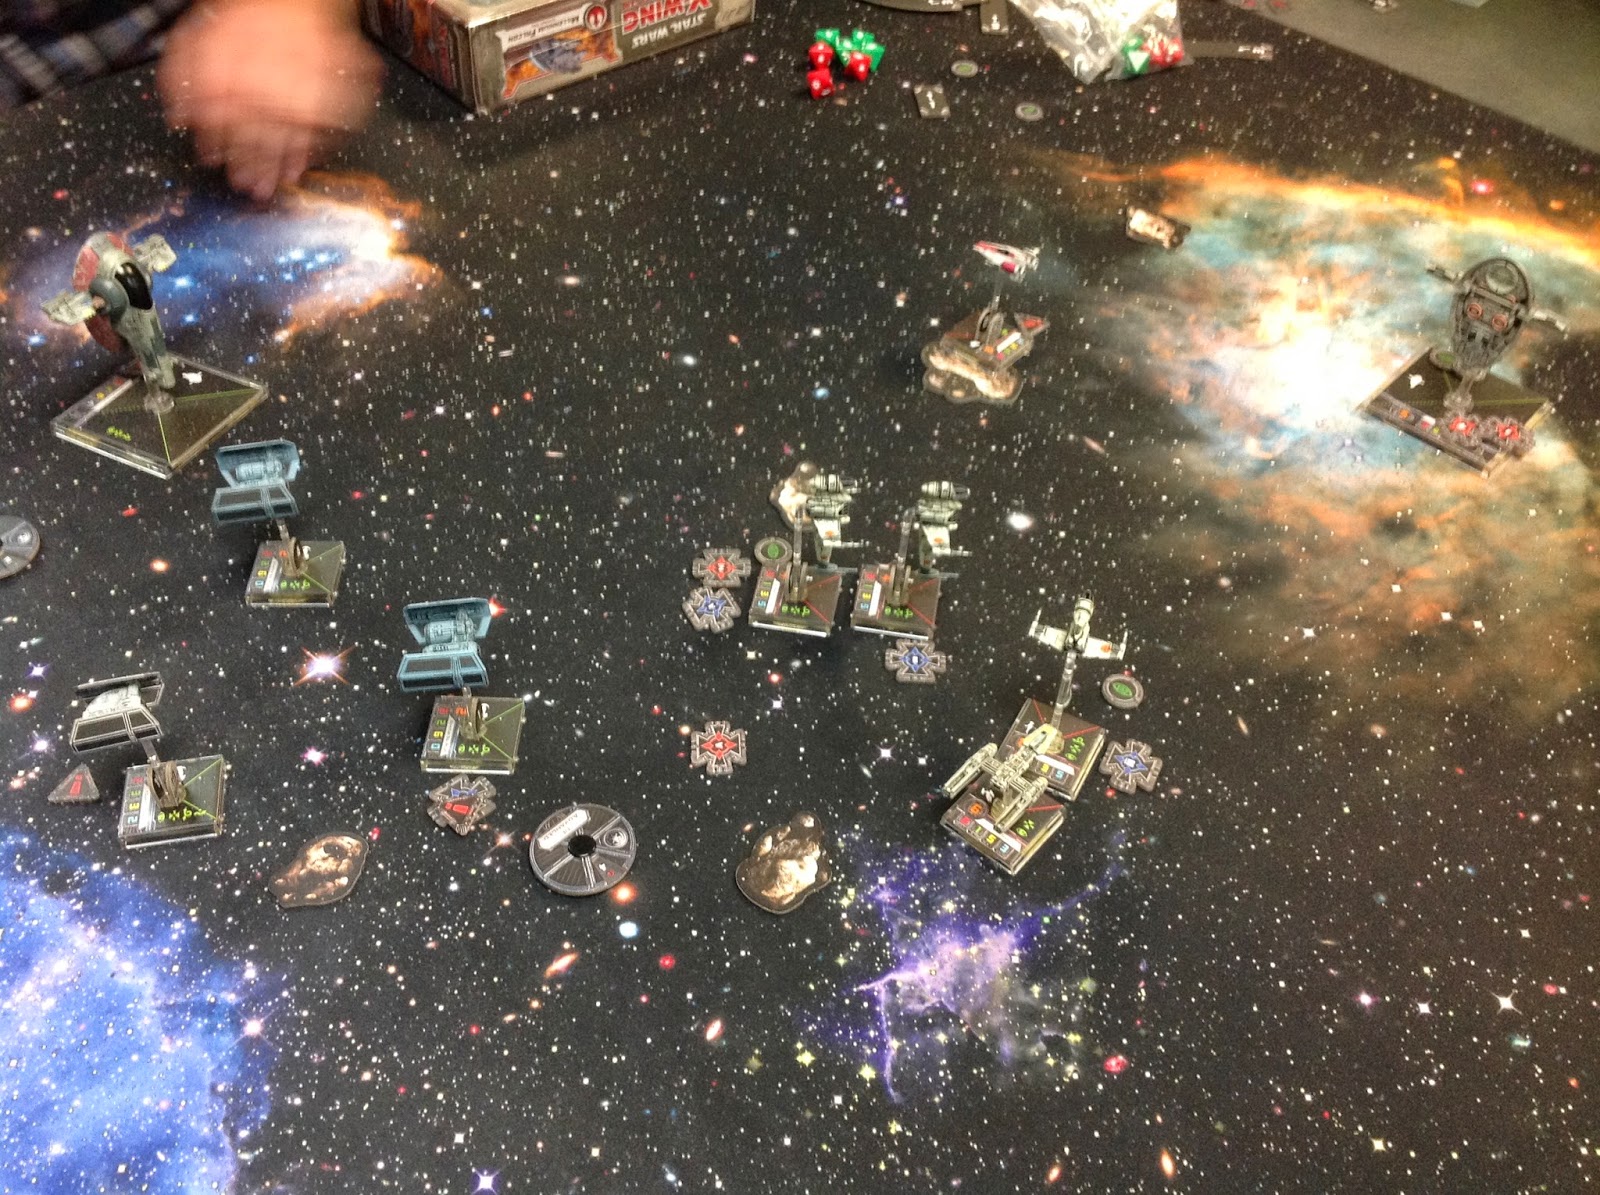 |
| The A-wing pilot, deciding that the Firespray is too tough of a target, circles around to head off the TIE bombers and Vader, but has to slow down to avoid an asteroid. The TIEs and Kath get a decent shot on the B-wings, lightly damaging the rear ship. However, as the other members of Dagger Squadron suppress Krassis, Ibtisam finally finds a good mark with her heavy laser cannon, bringing the slaver down. |
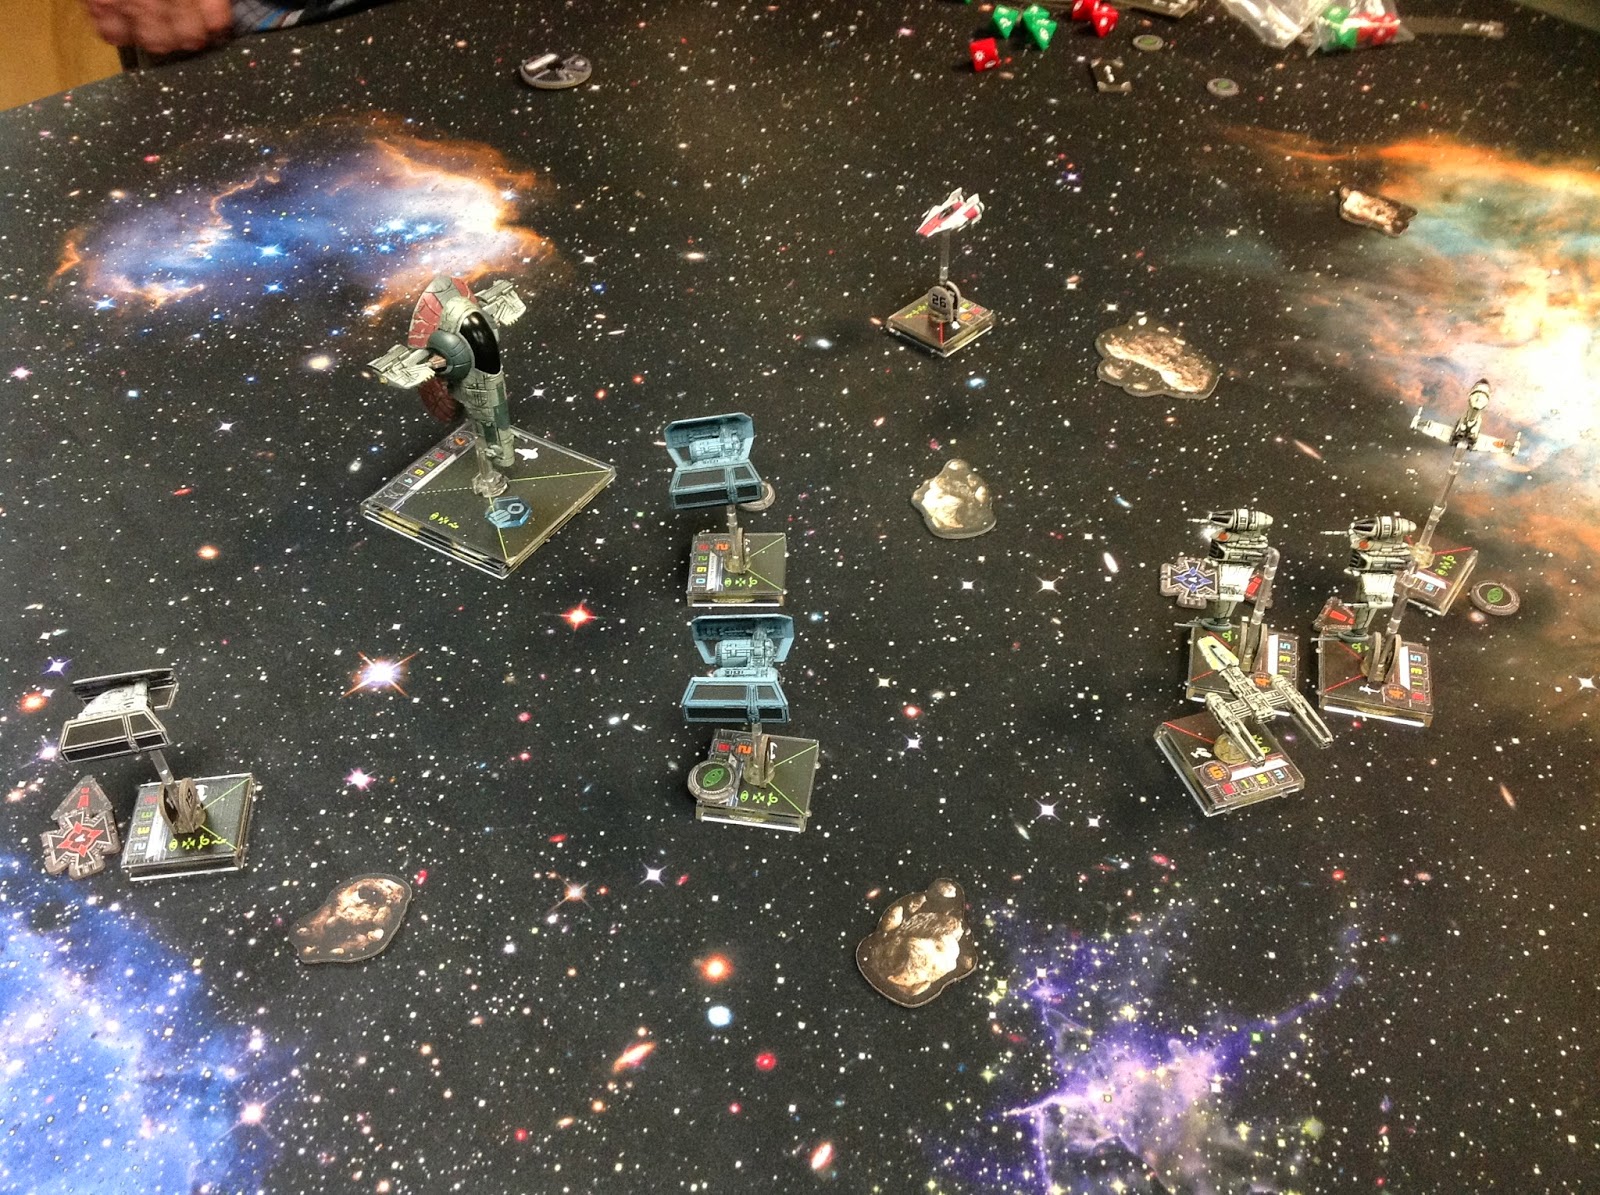 |
| Ibtisam lines herself up for an attack run while the B-wings flip around, bringing their heavy laser cannons to bear as Dutch and the A-wing move to support; however, before the lead ship could fire, it is destroyed by a furious barrage from Kath and Vader. The rear-most B-wing is able to complete his shot though, and Vader does up in flames. Dutch lands a good ion hit on the lead TIE bomber. |
 |
| The Dagger Squadron Pilot becomes entangled in the ionized TIE bomber; Ibitsam gets a clean strike with her cannons and destroys it while the last TIE bomber flips around for a better shot. Kath attempts to close distance to bring her repeating blasters to bear, but the A-wing pilot stymies her with a well-timed interception. What firepower she could bring to bear was enough, however, and the last Dagger Squadron pilot is killed. |
 |
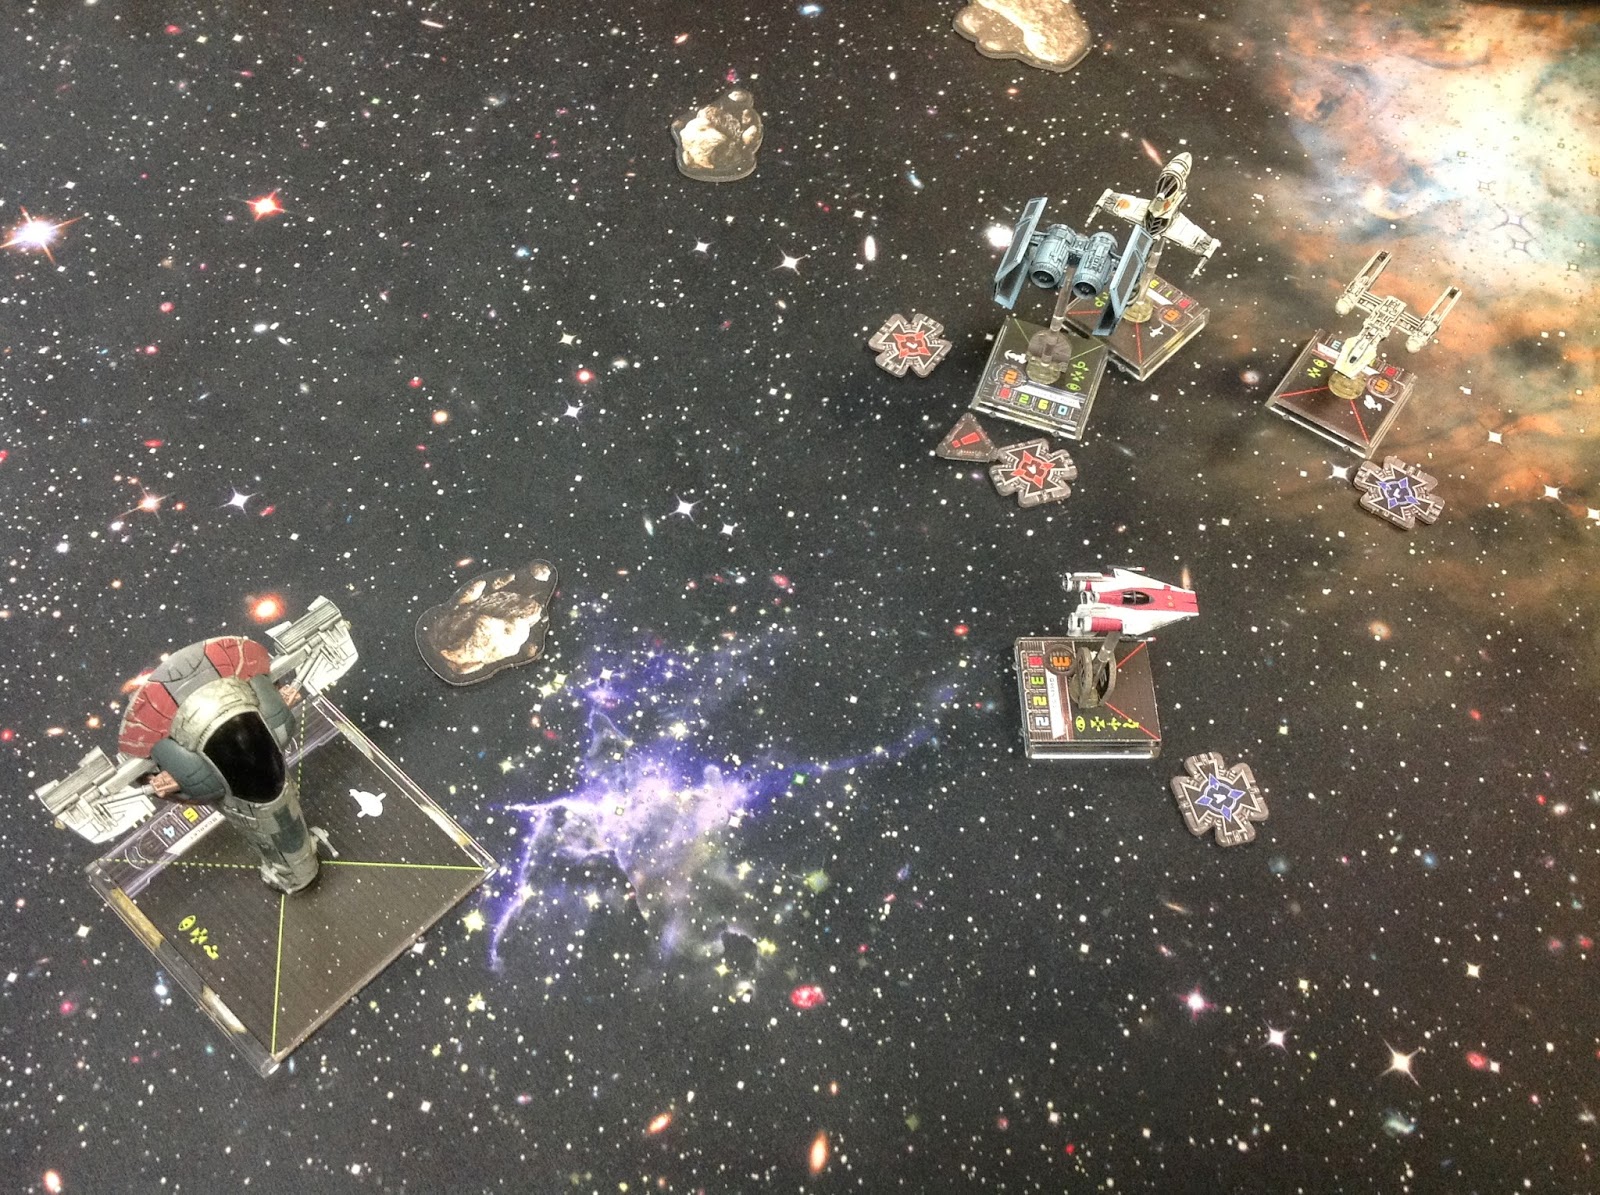
| Facing down Dutch, Ibtisam, and what seems to be the luckiest A-wing pilot in the galaxy, Kath turns tail and tries to escape. Ibtisam takes the initiative, however, and brings her heavy laser cannons to bear, scoring a number of penetrating hits. Dutch and the A-wing try to take down the final bomber, but only do light damage. |
 |
| The last TIE turns towards the B-win, hoping to get a clean shot, but Ibitsam is too close for a good shot. However, The Mon Calamari was already too focused on Kath to notice the TIE, and is able to get another clean shot on Kath with her heavy laser cannons, destroying the pirate. Dutch scores a light ion hit against the TIE, who now has nowhere to run and no backup. The Scimitar Squadron Pilot surrenders. |
ANALYSIS:
Wow, that battle was more than deserving of the term "Epic". Amazing shots and defenses on both sides prolonged what could have been a short and brutal fight into one lasting a few hours.
I really screwed up here though. First of all, not owning any A-wings or Y-wings, I was unused to their movement grids, which hurt my efforts at positioning them correctly. Not knowing where things can go hurt squad cohesiveness when I tried sticking them together, hence me breaking up the heavy team into pairs. The Fire-Control Systems of the Dagger Squadron Pilots would allow them to maintain target locks, while Dutch's ability allowed Ibtisam to remain stressed for the rerolls and still maintain target locks.
Second, and
FAR more important, is that I deployed too far in the corner to be of use for half the game. I had intended the heavy fighters to take out the Firesprays, but having never played against them before I didn't realize they could move that quickly. The two ships easily outran the fighters, and the only thing I could do was stress them in red ↑ maneuvers to try to keep up. If I had deployed the B-wings about halfway along the board instead of in the corner, they could have instead brought their HLCs to bear on the TIE Bombers or Vader and prevented a number of X-wing losses.
Also, while the A-wings had an ok starting position, the left bank to avoid the Firespray's firing arcs was a big mistake; it put them too far away from the bombers to use their missiles until it was too late. Instead, I should have gone between the asteroids (banked into the bombers with boost) and taken a stress to Evade, as I would have been able to still do a green 3-5↑ maneuver to get them into assault missile range of the bombers, almost the entire reason I took them. Granted we still won, but it was pretty demoralizing to watch my ally's ships get removed one by one while my entire fleet had taken only two shield damage up to the point I got fully engaged in turn nine.
Anyways, I loved the Y-wings so much I bought one, and an extra B-wing, right then and there. I'm a bad, bad man...


No comments:
Post a Comment